
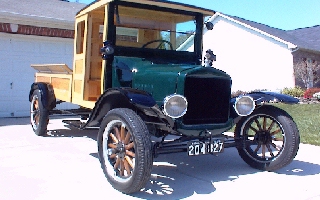
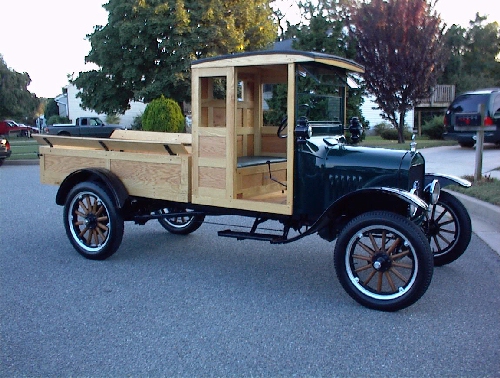
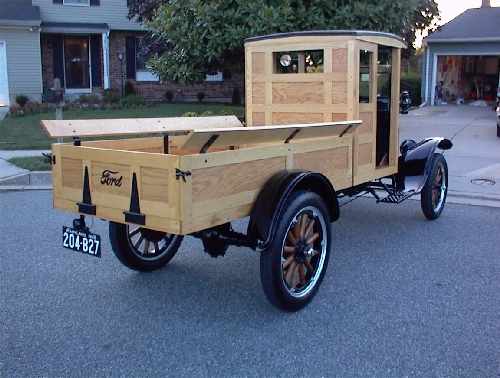
The Miller Brother's '26 Model "TT" Ford
Serial # 14577510
Page Three
 |
 |
 |
 |
| Getting ready to put on fenders |
Ready to install the left rear fender |
First Fender Finished | Let's put on a light |
 |
 |
 |
 |
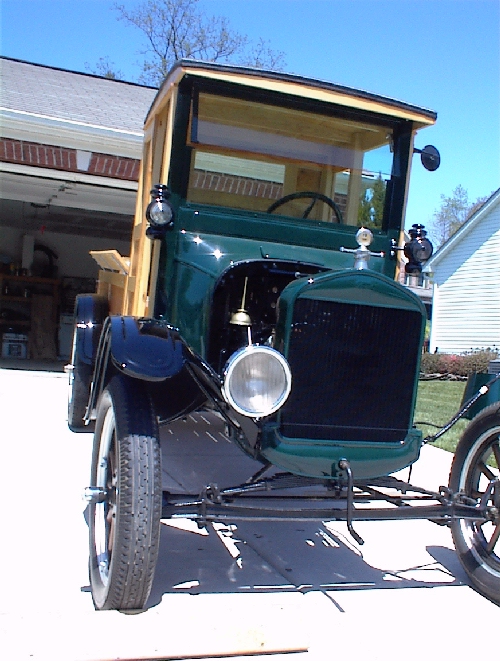
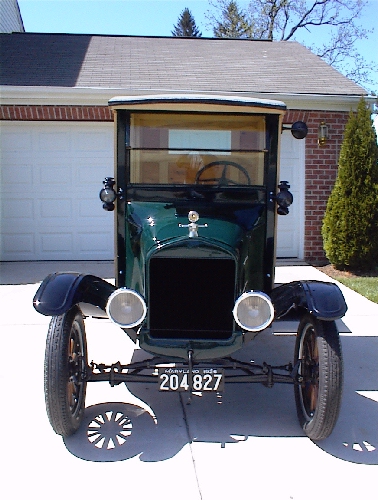
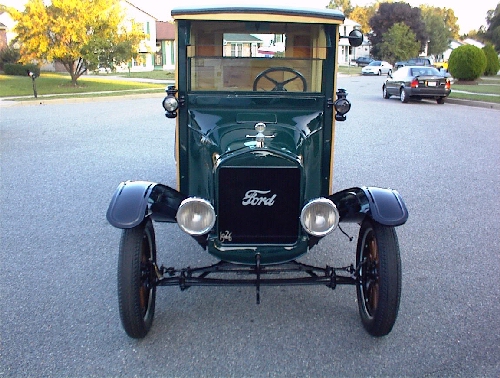
| Finished front | Lookin good | Eat my dust! | Fini |
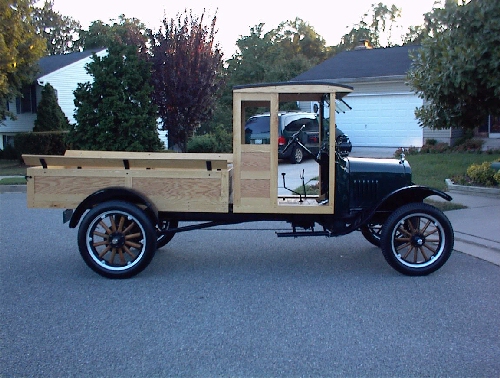
| On Saturday, 26 August, 2001, Jeff and I took our '26 "TT" from my house to his (approximately 25 Miles) so he could finish the cosmetics. Less than one block from my house we threw the fan belt due to a loose crankshaft pulley. Our "TT" has a waterpump, but we decided to go without it. She was running rough, and this was my first road trip (Up until now I hadn't driven a "T" more than around the block). After a while I got the hang of driving it. Once we got to U.S. 40, I was able to roll along on the shoulder at speed (22 MPH on the flat). I had to pull one long up hill grade in low (she boiled a few feet from the top) but she made it an average speed of five-six MPH. After a good washing we put her to bed in my brothers garage. We had one other problem during the trip. The auxillary (Chevy)transmission would pop out of gear leaving me without a foot brake or power. We were lucky to have this happen on a road where I could safely stop and gather my wits. From that point on, Kathleen (my 18 year old daughter) held the gear shift lever in high. I want to get rid of the Chevy transmission ASAP. In addition to being unsafe, it leaks vast amounts of gear oil. To do the replacement, I will need a replacement drive shaft, torque tube and set of radius rods, as the originals were chopped to make room for the Chevy transmission. Oh well, the trip was great fun (it took about an hour and 45 minutes)and a real learning experience. |
 |
 |
 |
 |
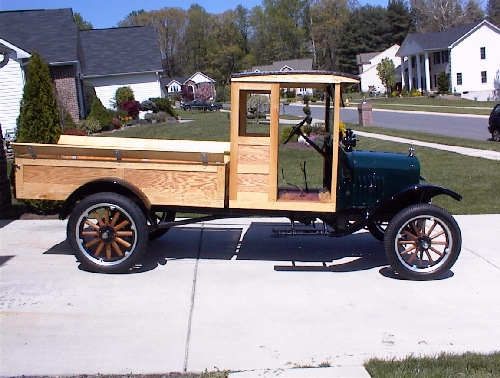
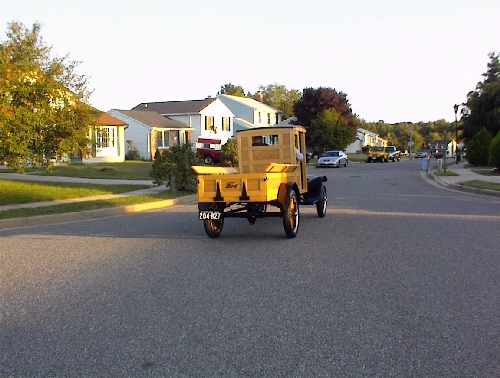
| Out for a test drive | After the drive | After the drive | After the drive |
 |
 |
 |
 |
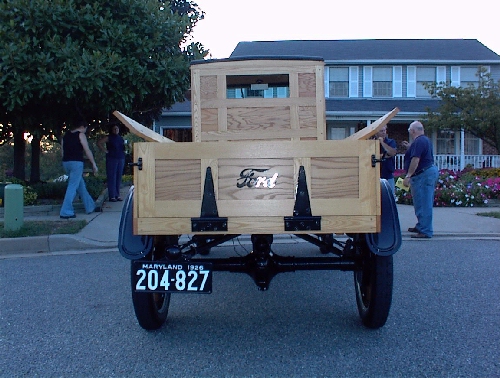
| After the drive | After the drive | After the drive | Our first trophies Best Antique and Best of Show |
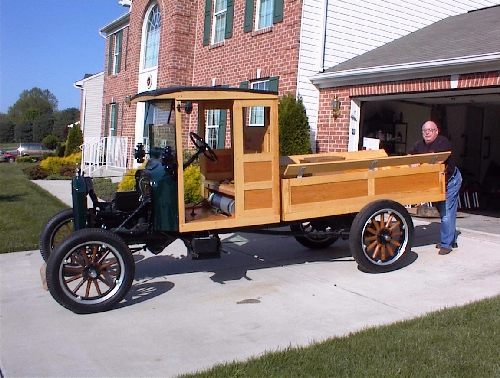
| On Saturday, 24 November, 2001, we began the process of removing the auxiliary Chevy transmission from behind the Model T transmission. After draining the lube out of the auxiliary transmission we found that the area that was leaking was not going to be an easy fix and since the aux. transmission had a bad third gear we made the decision to take it out for good and replace the shortened drive shaft, torque tube and radius rods with original Model TT parts. After about an hour of discussing how we were going to jack up the frame to get the rear end free to move it backwards, we came up with a plan. We removed the rear fender, removed the emergency brake rod, jacked up the passenger side, removed the rear wheel, unbolted the radius rod, replaced the rear wheel, blocked up the frame, lowered the wheel until the spring shackle lost tension, removed the shackle and then lowered the rear wheel to the ground. We then repeated the process on the drivers side. Now that the rear end was free of the frame we removed the four bolts from the forward end of the torque tube. We then rolled the rear wheels back and out came the drive shaft leaving the universal still in the aux. transmission. There should have been a pin through the universal holding it to the drive shaft but it wasn't there. We then removed the universal from the aux. transmission. We also removed a bushing for the torque tube universal ball from the aux transmission. Then we proceeded to remove the auxiliary transmission itself. We removed the four bolts that were holding it to the Model T transmission, two bolts that were holding it to a frame brace and then removed the frame brace. With a couple of wiggles , out it came, no problem at all. No more time to work today. Next step: Removing the drive shaft housing from the rear end and acquiring a universal joint for the Model T transmission to drive shaft connection. |
 |
 |
 |
 |
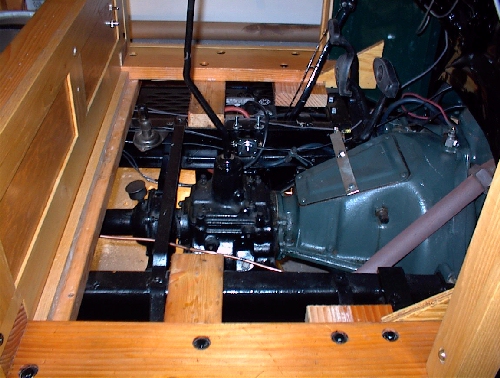
| The auxiliary transmission before we started |
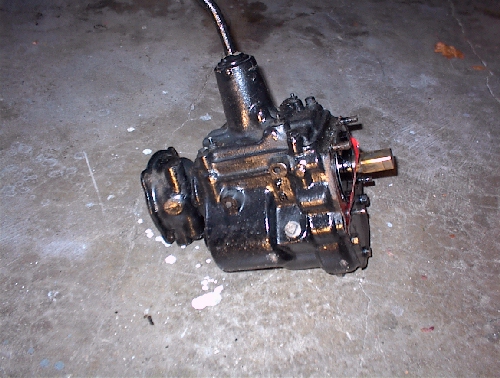
Where did it go? | Auxiliary transmission (Side view) Note: the adapter plate and square drive. |
Auxiliary transmission (Front view) |
 |
 |
 |
 |
| The auxiliary transmission (Rear view) |
The double female Universal Joint |
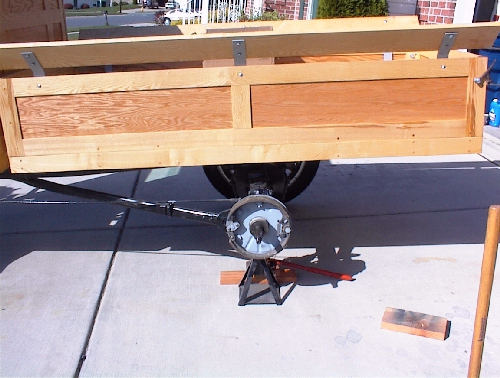
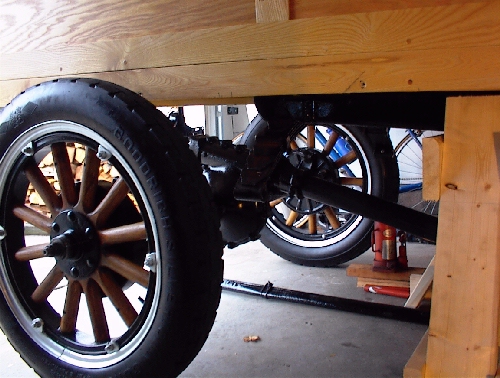
Rearend Disconnected from rear spring and rolled back |
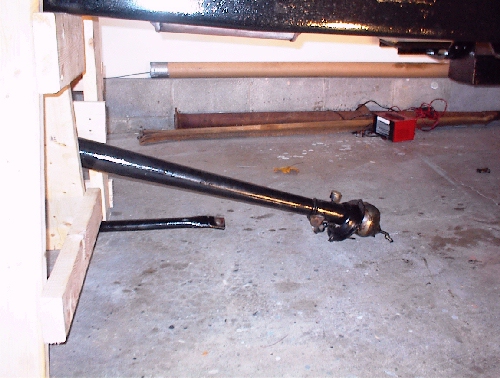
Old torque tube after removal. See new tube and radius rods against wall |
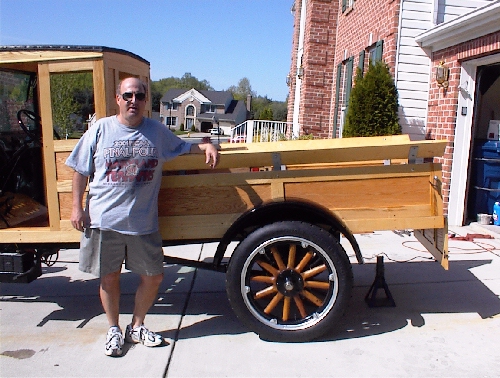
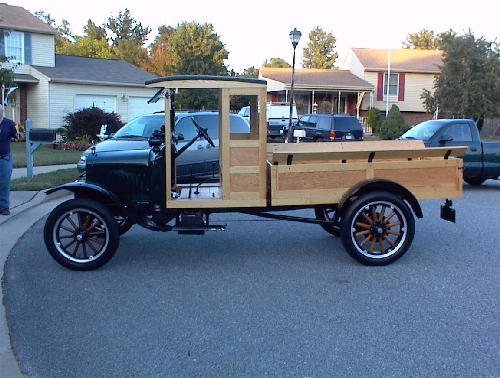
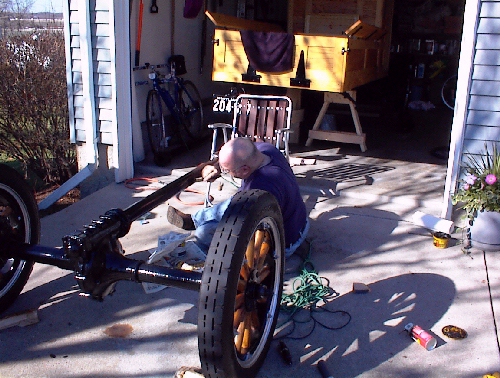
| On Saturday, 1 December, Jeff and I removed the old torque tube and drive shaft, and installed the new long driveshaft, and tube. On Saturday, 8 November, 2001, after obtaining a male - female universal joint, and painting the tube and radius rods, we reinstalled the rearend, connected the ball, bolted up the radius rods, and connected the brake rods. Unfortunately is was raining here in maryland on Saturday so we couldn't take a test drive (what, us get a drop of water on our prize). On Sunday morning the weather was great. We took the truck out for a spin, and no strange noises. It looks like our install was a success. All that's left to do is make a new floor board sans gear shift hole. |
 |
 |
 |
 |
| Painting the new torque tube |
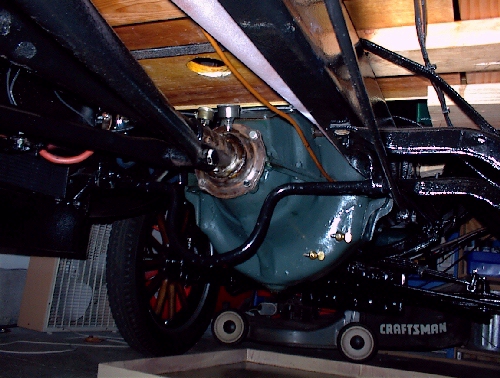
New torque tube bolted up (top view) |
New torque tube bolted up (bottom view) |
The Chevy transmission is "gone with the wind" |
 |
 |
 |
 |
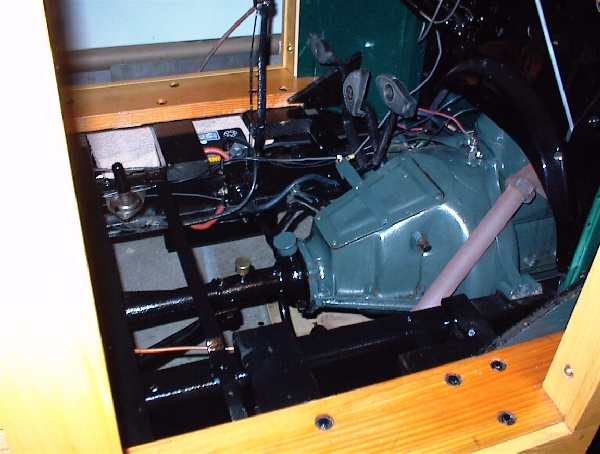
| The complete install |
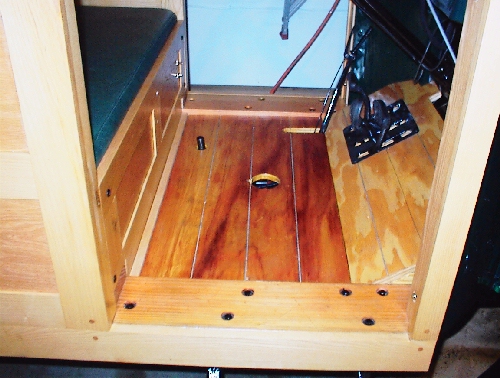
New floor boards sans hole The color match in real light |
We're ready for a parade | Go to Page Four for more pictures |